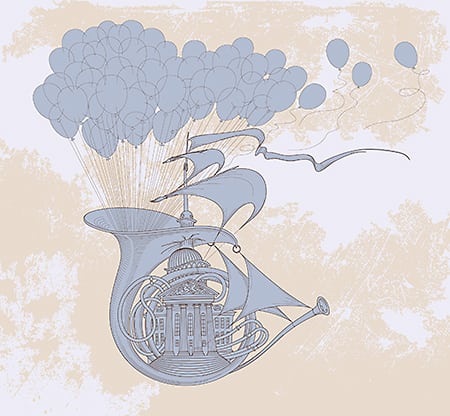
Blend two or more images into something entirely new. Featured artist: Lidia Lukianova. Check out more of her work here: https://www.behance.net/lidialukianova
Start from scratch, or download practice files [https://adobe.ly/3k68ovh] for a head start. Steps below.
Pick your pics:
1. Scroll through your camera roll to find two or more of your favorite shots.
2. Start a new document in Photoshop.
Tip: I chose the Portrait, 5 x 7 preset in the Photo category of the New Document window.
3. Drag the images to the open document.
4. Hold the Shift key as you use the handles to resize each image.
5. Press Enter or Return to place it.
6. Repeat this process to add each image.
7. Drag the images in the Layers panel (Windows – Layers) in the order you’d like them to appear. For example, I dragged the sky layer to the bottom to make it the background.
Remove an object’s background:
1. Make sure the flower is visible.
Tip: Click the eye icon to hide other layers if necessary.
2. Choose the Magic Wand.
3. Choose the Add to selection option.
4. Click the white areas of the background, including the areas between the petals.
5. Right-click and choose Select Inverse.
6. Click the Layer Mask icon in the Layers panel to add a layer mask to show the flower and hide its background.
Fine-tune the details:
1. If the Magic Wand doesn’t quite get everything, click the layer mask thumbnail and use the Brush tool along the edges to refine the selection.
2. Paint on the canvas with black to hide, or white to reveal, depending on what you need to fix.
Draw a selection:
1. Show the shell layer and hide the flower.
2. Select the Object Selection tool, drag across the shell, and release the mouse.
3. Add a layer mask.
4. Refine the edges with the Brush tool.
Arrange the pieces:
1. Show both the flower and shell layers.
2. Select the Move tool.
3. Click Control or Command+T to show the Transform tool.
4. Click a layer with the object you want to move.
5. Drag the object to move it.
6. Hover just outside a corner handle and drag to rotate it.
7. Press Enter or Return to place the object.
8. Right-click the shell layer and choose Convert to Smart Object.
9. Choose Edit – Transform – Warp.
10. Drag the handles to re-shape the object.
Overlap objects:
1. Select the flower layer.
2. Click the layer mask icon.
3. Paint with a black brush to hide part of the flower in front of the shell.
Finesse the composition:
1. Select the shell layer and choose the Burn tool.
2. Brush along the edges to add shadows.
Tip: Up to this point, you’ve edited the flower and shell separately. Now, you’ll make changes that will affect the flower and shell—and eventually the sky—together.
3. Shift-click to select the flower and shell layers.
4. Right-click and choose Merge Layers.
5. Double-click the layer name if you’d like to rename it. A Brightness/Contrast adjustment layer helps the colors stand out.
6. Add an adjustment layer and move it above the composite in the Layers panel.
7. Right-click and choose Create Clipping Mask to apply the changes to the image.
8. Show the sky layer to see how the new background changes the look of the image.
Boost the colors:
1. Apply a Levels adjustment layer.
Tip: I used the Levels settings: 151, 1.38, and 255. and clipped the adjustment to the sky layer. A Levels adjustment layer increases the intensity of the blue in the sky and the contrast between the sky and the clouds.
2. Try different backgrounds to see the impact they have.
Combine images and experiment with backgrounds, then tag @AdobeCreate on Instagram to share the inspiration. That’s it!
To learn more, check out our Companion Tutorial: https://adobe.ly/35tFils
Subscribe: https://www.youtube.com/user/adobecreativecloud?sub_confirmation=1
LET’S CONNECT
Facebook: http://facebook.com/adobecreativecloud
Twitter: http://twitter.com/creativecloud
Instagram: http://www.instagram.com/adobecreativecloud/
Adobe Creative Cloud gives you the world’s best creative apps so you can turn your brightest ideas into your greatest work across your desktop and mobile devices.
To watch with Subtitles/closed captions, click the CC icon in the lower-right corner.
source


