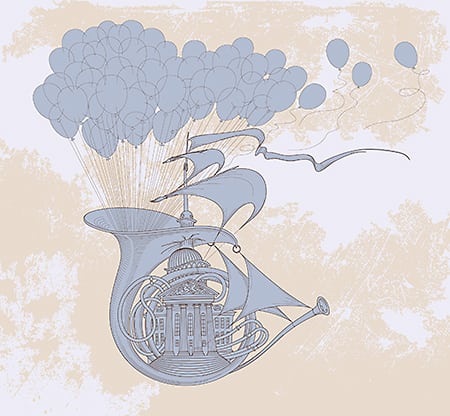
Give your artwork a realistic rubber stamp look with this stamp effect tutorial. Download Adobe Illustrator to get started: https://www.adobe.com/products/illustrator.html
Start from scratch, or download practice files [https://adobe.ly/2N6ZLQI] for a head start. Steps below.
1. Open your drawing, or use ours (stamp-effect_start.ai).
2. Choose the Selection tool and drag to select the artwork.
3. Apply an inner glow: Choose Effect – Stylize – Inner Glow – Normal. Set the color to black, Opacity to 100%, Blur to 3px. Make sure Edge is selected and check Preview. Click OK.
Tip: Choose the Stylize option from the Illustrator Effects section of the Effect menu.
4. Add texture to the drawing: Choose Effect – Pixelate – Mezzotint. Set Type to Grainy Dots. Click OK.
5. Apply a stamp effect: Choose Effect – Sketch – Stamp. Set the Light/Dark Balance to 1 and Smoothness to 6. Click OK.
6. Turn the artwork back into a vector: Choose Object – Expand Appearance. Choose Window – Image Trace. Set Paths to 100%, Noise to 1px, uncheck Snap Curves to Lines, check Ignore Whites, and check Preview.
Tip: Click the triangle to expand the Advanced options in the Image Trace panel.
7. Prepare the artwork: Choose Object – Expand. Leave Object selected and uncheck Fill. Click OK.
That’s it!
#Adobe #Tutorial #Illustrator
To learn more, visit our Illustrator Tutorials page: https://helpx.adobe.com/illustrator/tutorials.html
Subscribe: https://www.youtube.com/user/adobecreativecloud?sub_confirmation=1
LET’S CONNECT
Facebook: http://facebook.com/adobecreativecloud
Twitter: http://twitter.com/creativecloud
Instagram: http://www.instagram.com/adobecreativecloud/
Adobe Creative Cloud gives you the world’s best creative apps so you can turn your brightest ideas into your greatest work across your desktop and mobile devices.
source


