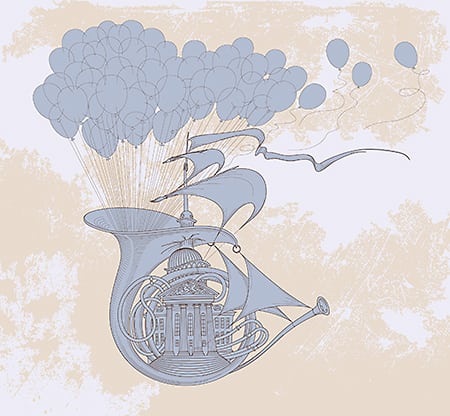
Mix monochromatic and retro into something new.
Start from scratch, or copy the practice PSD file and open it from the Your Files section of the Photoshop Home screen [https://adobe.ly/3I1yHhT] for a head start. Steps below.
Colorize the image:
1. Select the Vintage Photo layer.
2. Choose Filter — Neural Filters.
3. Sync the Colorize Filter.
4. Turn on the Colorize Filter.
5. Click OK.
Prepare to mask:
1. Turn off the Vintage Photo layer.
2. Choose the Object Selection tool.
3. In the toolbar, click Select and Mask.
Make the selection:
1. In the Select and Mask workspace, change the View Mode to Overlay. The red represents which areas will be hidden by the mask.
2. Change the Refine Mode to Object Aware.
3. In the toolbar, click and hold the Lasso tool to choose the Polygonal Lasso tool.
4. Use the Polygonal Lasso to select a rectangular area on the bottom half of the photo.
Focus on the details:
1. Use the Quick Selection brush to add in the subject and hide parts of the background.
2. Switch between the Add and Subtract options and adjust the brush size as you work.
3. Click Refine Hair.
4. Change the Output to Layer Mask and click OK.
That’s it!
Find the full lesson on Discover: https://adobe.ly/vintage-collage
Learn more about Photoshop: https://www.adobe.com/products/photoshop.html?sdid=LCDWTJQ5&mv=social&mv2=ownsoc-org
Subscribe: https://www.youtube.com/user/adobecreativecloud?sub_confirmation=1
LET’S CONNECT
Facebook: http://facebook.com/adobecreativecloud
Twitter: http://twitter.com/creativecloud
Instagram: http://www.instagram.com/adobecreativecloud/
Adobe Creative Cloud gives you the world’s best creative apps so you can turn your brightest ideas into your greatest work across your desktop and mobile devices.
To watch with Subtitles/closed captions, click the CC icon in the lower-right corner.
source


