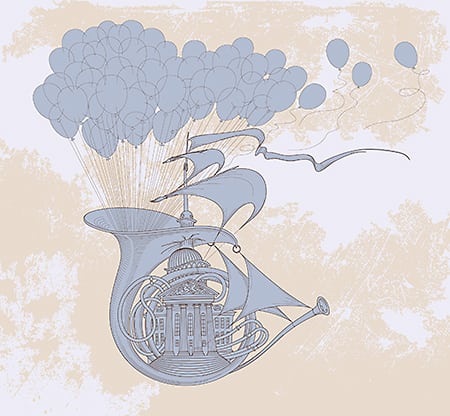
Blend textures, images, and type to create a composition that is sure to get noticed. Featured Artist: Tiago Araújo. Check out more of his work here: https://www.behance.net/tiagoaraujo_85
Start from scratch, or download practice files [https://adobe.ly/35xbrIK] for a head start. Steps below.
Blend textures:
1. Open the poster-sized sample file in Photoshop. The PSD includes a background image that simulates the look of paper grain.
2. Drag the black texture image from the practice files to the lower-right corner of the PSD. Press Return or Enter to place it.
3. Choose the Rectangular Marquee (M) tool and select part of the black texture.
4. Click Add Layer Mask from the bottom of the Layers (Window – Layers) panel.
5. Paint with a black textured brush (B) to hide parts of the texture and create a ragged edge.
6. Drag the blue texture image from the practice files and use a layer mask to blend it into the scene.
7. Add the wave image to the composition.
Type it up:
1. Choose the Text (T) tool, then choose a font you like. Araújo synced ‘Henderson Slab’ from Adobe Fonts.
2. Type the word ÁGUA and adjust the size and positioning to your liking.
3. Right-click on the text layer and choose Rasterize Type so you can customize it in the next step.
4. Choose Filter – Liquify and use a large-radius Forward Warp tool in the Liquify workspace to drag and warp the ‘U’ in ÁGUA.
5. Choose the Freeze Mask tool and brush over the letter ‘U’ to protect it from further editing.
6. Use the Forward Warp tool to customize the letter ‘G’. Click OK when you are finished liquifying the letters.
Add a ripple:
1. Choose Control+T (Windows), or Command+T (macOS), and rotate and move the rasterized type layer.
2. Add the water ripple image from the practice files to the composition.
3. Scale the image to cover the letters and press Return or Enter to place it.
4. Right-click on the ripple layer and choose Create Clipping Mask to add a ripple effect to the word.
Shape your message:
1. Choose the Ellipse tool (click and hold the Rectangle tool if Ellipse is not visible).
2. Hold Shift+drag to draw a circle.
3. Choose the Type (T) tool, select a font, hover over the circle, and click where you want your type to appear. As you type, the text flows around the circle and replaces the default text.
4. Add to your composition by adding text and experimenting with size, leading, placement, and other decorative effects.
That’s it!
To learn more, check out our Companion Tutorial: https://adobe.ly/35quSDl
#MakeItCC
Subscribe: https://www.youtube.com/user/adobecreativecloud?sub_confirmation=1
LET’S CONNECT
Facebook: http://facebook.com/adobecreativecloud
Twitter: http://twitter.com/creativecloud
Instagram: http://www.instagram.com/adobecreativecloud/
Adobe Creative Cloud gives you the world’s best creative apps so you can turn your brightest ideas into your greatest work across your desktop and mobile devices.
To watch with Subtitles/closed captions, click the CC icon in the lower-right corner.
source


